Enable WiFi on your modem
To access your WiFi network, you need to make sure this function is enabled on your router/modem. If the wireless light on your modem is off, then you need to turn on the setting on your modem using the modem interface.
Depending on the device, you may also need to enable WiFi on your computer.
Note: Your modem settings may appear slightly different from the images below, but the steps will be the same.
How to turn on WiFi in the modem settings
1. Connect a device, such as a computer or tablet, to the internet using an Ethernet cable connected to your modem.
2. Open a web browser and type http://192.168.0.1 into the web address field.
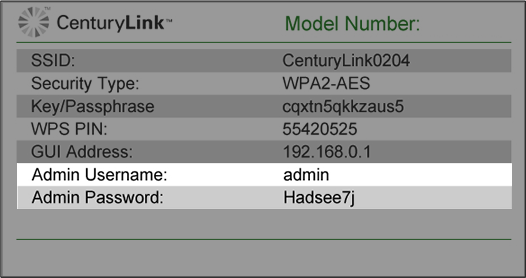
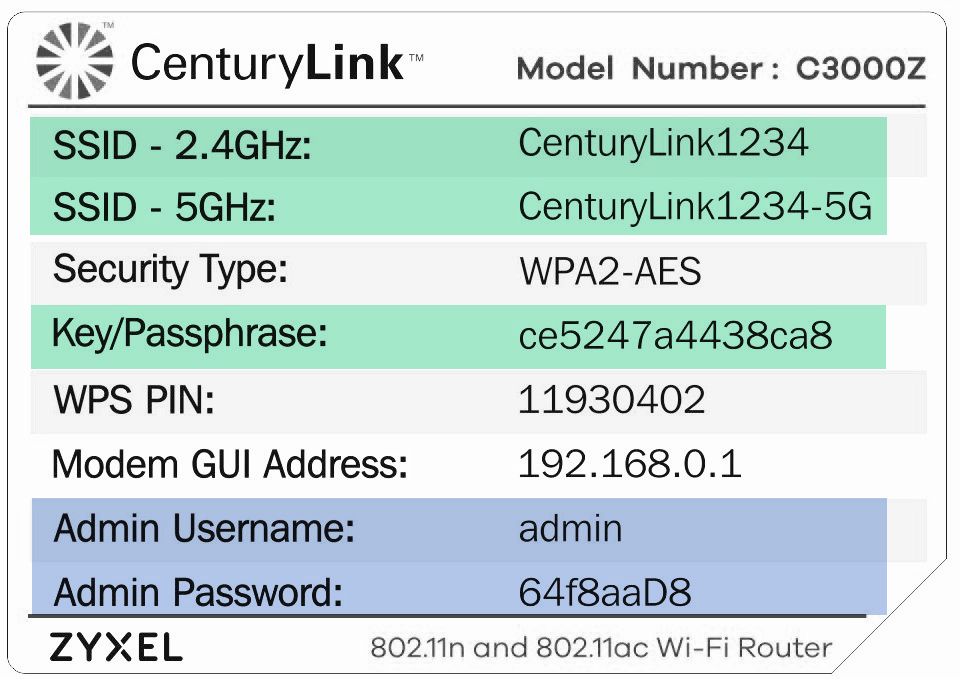
3. Sign in to the modem's settings interface (Modem GUI) using your Admin Username and Admin Password. Note that these are different from your wireless network name (SSID) and WiFi password (security key).
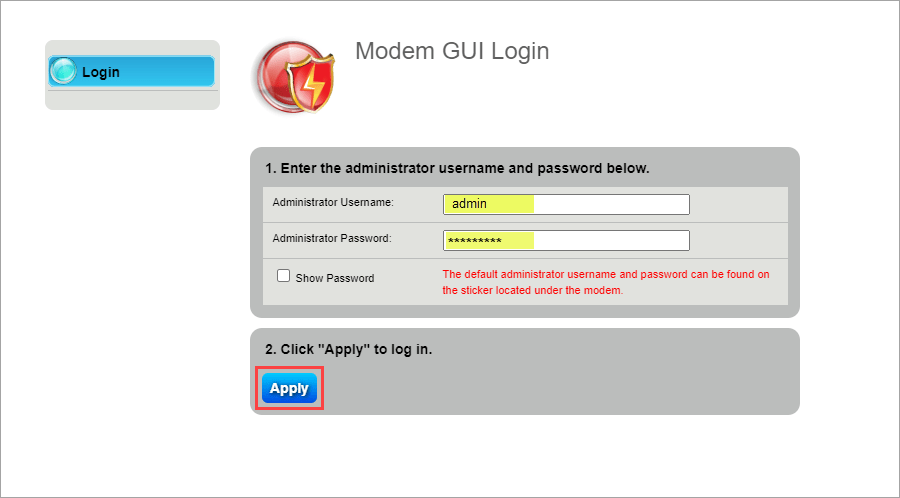
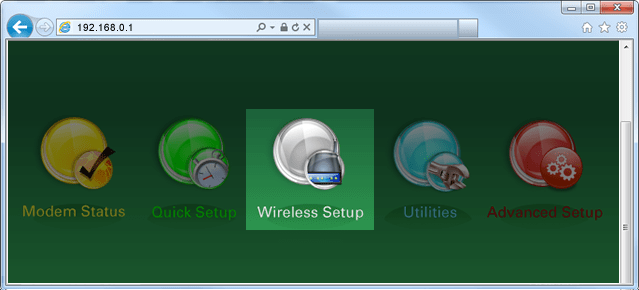
4. Select the Wireless Setup icon in the main menu.
5. Select Enable for the wireless radio.
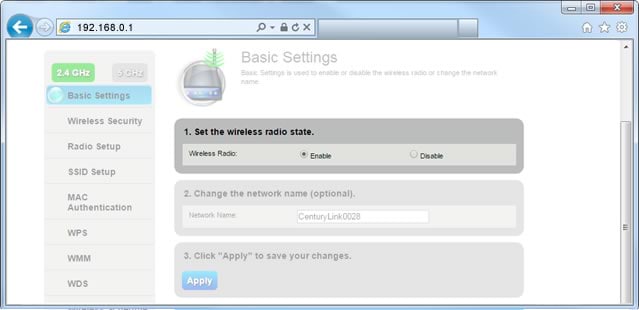
6. Select Apply to save your changes.
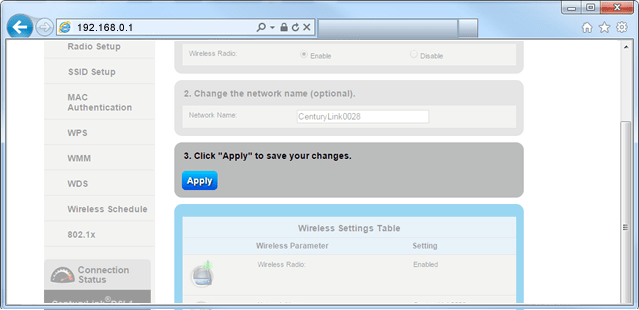
7. Next, select SSID Setup in the left side menu.
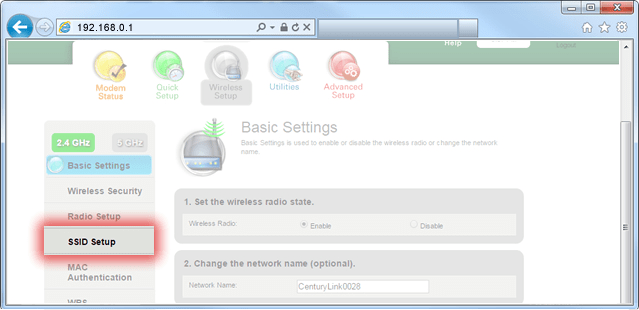
8. Select the network (SSID) that you are using.
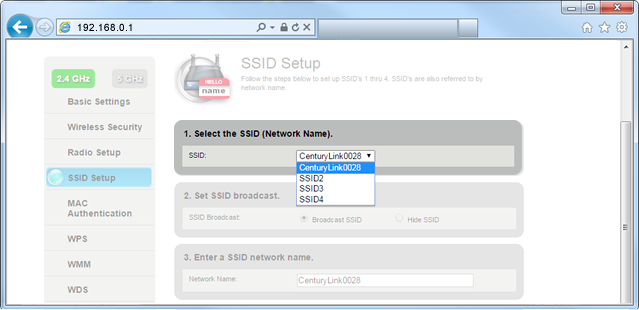
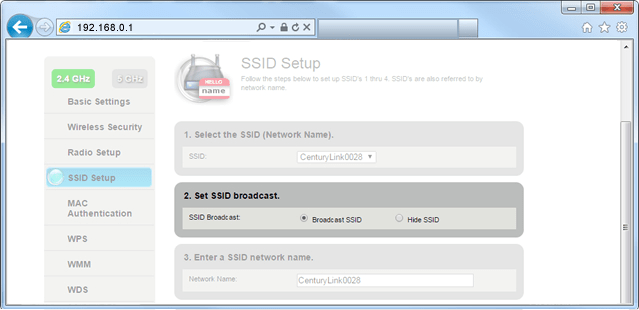
9. Select Broadcast SSID.
10. Select Apply to save your changes.
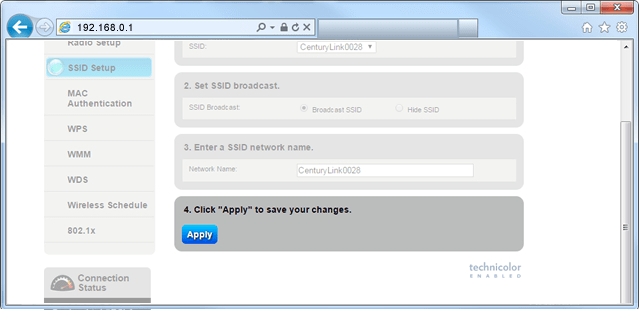
11. After the wireless light on your modem turns green, you can connect devices to your WiFi network.

All about WiFi
Top Internet Topics
-
Check for an outage -
Troubleshooting slow internet -
Speed hub -
Upgrade your service -
WiFi support -
Internet security
View all Internet topics
Shop WiFi Accessories
Expand your CenturyLink internet service with top WiFi performance accessories from our partners, including WiFi range extenders, smart power strips and more.
Top Tools
Was this information helpful?
Support topics



.png)


