How to create a second WiFi network
Sometimes a device won't connect to the WiFi network and you can't find the reason. If you've tried everything else, you can fix the problem by setting up a second WiFi network (SSID) with different security settings to connect to the device.
Note: Your modem settings may appear slightly different from the images below, but the steps will be the same.
1. Connect a device to your network over WiFi or using an Ethernet cable connected to your modem. This works best on a tablet or computer.
2. Open a web browser and type http://192.168.0.1 into the web address field.

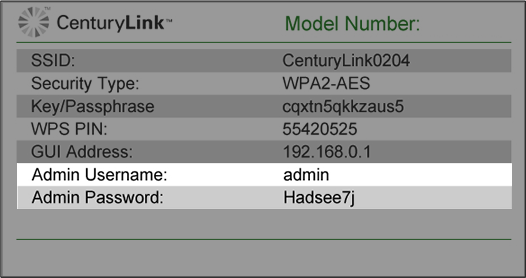
3. Sign in to the modem settings (GUI) using your Admin Username and Admin Password, printed on the sticker.
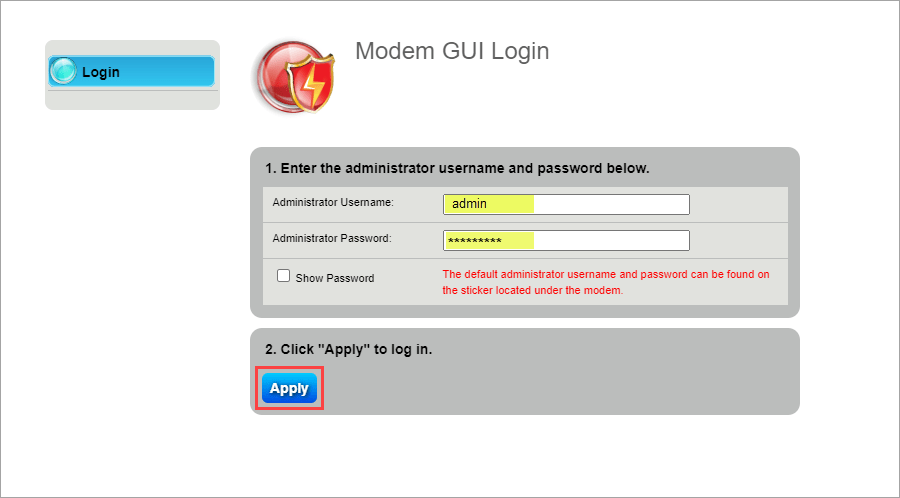
4. Select Wireless Setup in the main menu.

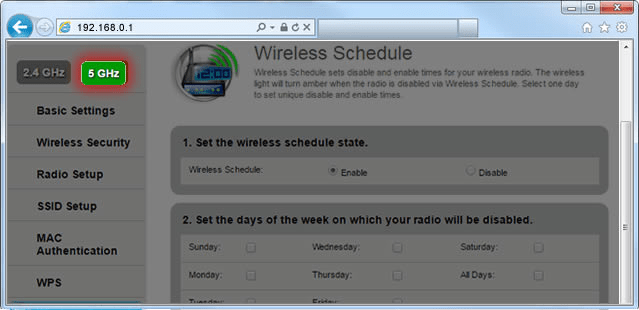
5. If given the choice, select 2.4 GHz or 5 GHz in the left sidebar. Some models do not offer this option. Read more about the how to choose between 2.4 and 5 GHz frequency, and learn which modems have this capability.
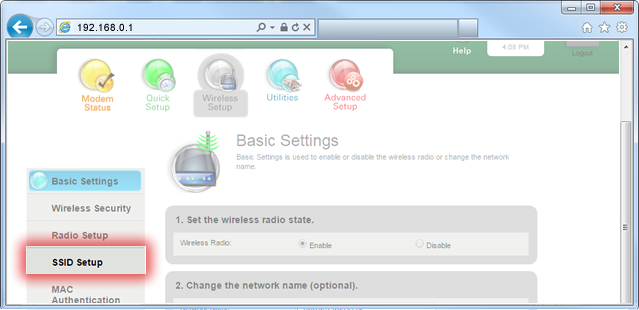
6. Select SSID Setup from the menu on the left sidebar.
7. Your primary network should appear at the top of the SSID dropdown list. Choose SSID2 to set up a second network. (You can repeat this process with SSID3 and SSID4, if needed.)
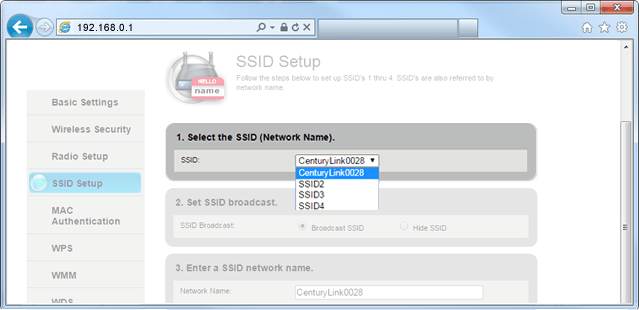
8. Select Enable SSID to activate the network. For some models you may see an option to "Broadcast" the network, which allows the network to be seen by users within range.
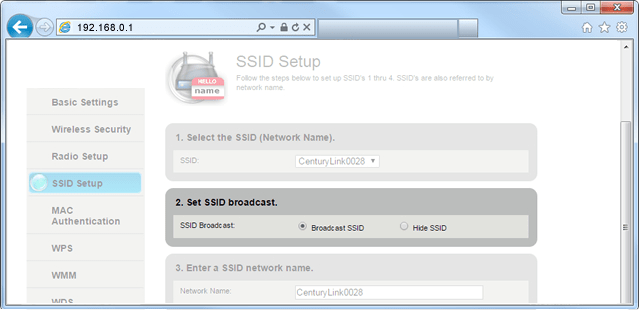
9. If you want, you can customize the network name to make it easier to remember.
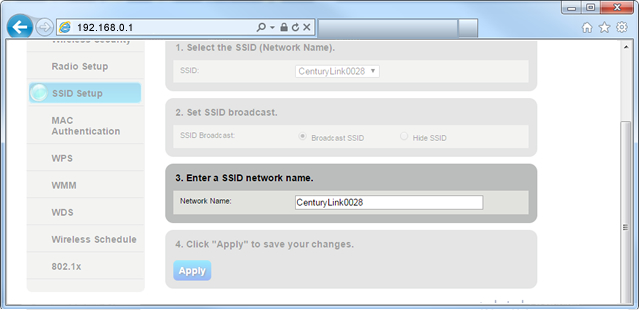
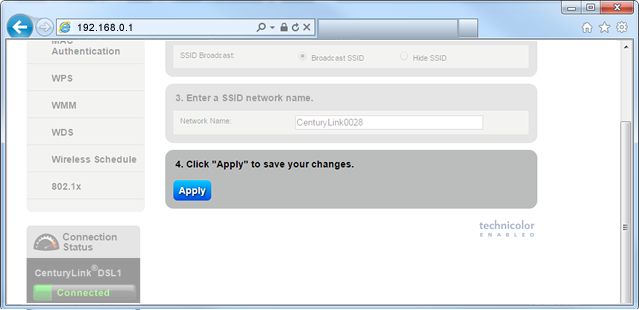
10. Select Apply to save your changes. The second network has now been created and enabled.
11. Next you will need to change some of the security settings. Choose Wireless Security in the left sidebar.
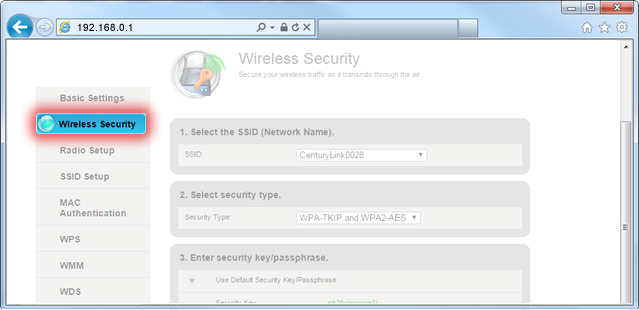
12. Select the name of the new SSID that you just created.
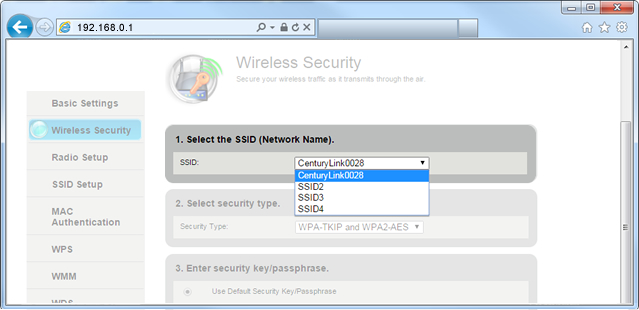
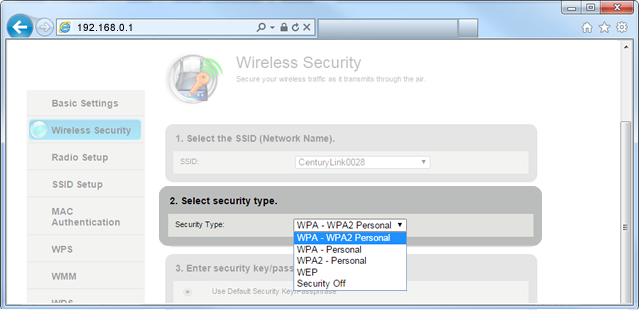
13. Select the desired security type. Sometimes choosing WEP (when available) will allow older devices to connect successfully, but generally you will want to choose WPA2 for the strongest security.
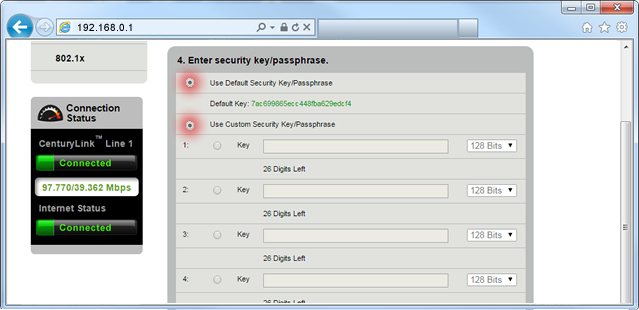
14. From here you can choose the default security key/passphrase, or set your own customized key.
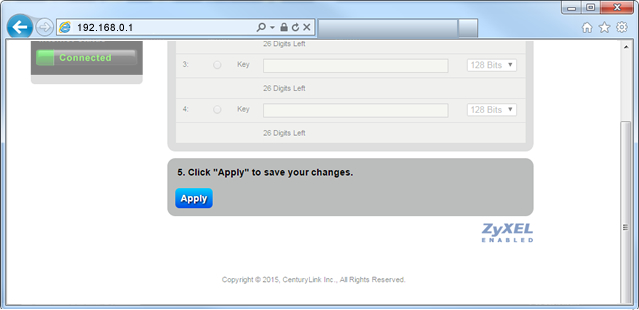
15. Select Apply to save your changes again. Now your new network should be live and you can connect your device(s) to it by entering the network name and security key created above into the device's WiFi settings.
Learn more about WiFi security
Top Tools
Was this information helpful?
Support topics



.png)


